This chapter explains how to install the client component of your NetMan Desktop Manager program. After you install the NetMan Desktop Manager server component, the client component installation begins automatically if the latest NetMan Client version is not detected on the server. If you need to launch the NetMan Client Setup manually, i.e., on a client machine, use one of the executable files in \\<NetMan server>\<%nmhome%>\Client\Setup.
![]() Both 32-bit and 64-bit versions are available. Select the appropriate version for your client operating system.
Both 32-bit and 64-bit versions are available. Select the appropriate version for your client operating system.
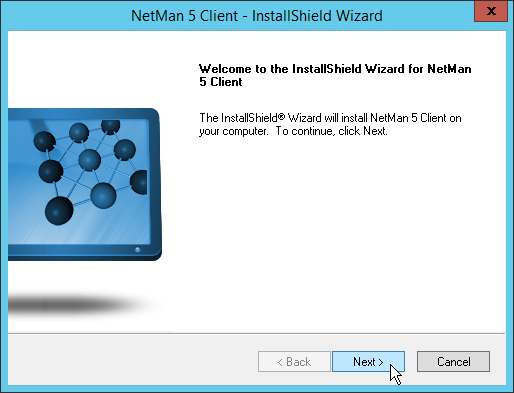
1. Click Next on the welcome page to begin installation:
The NetMan Client is installed.
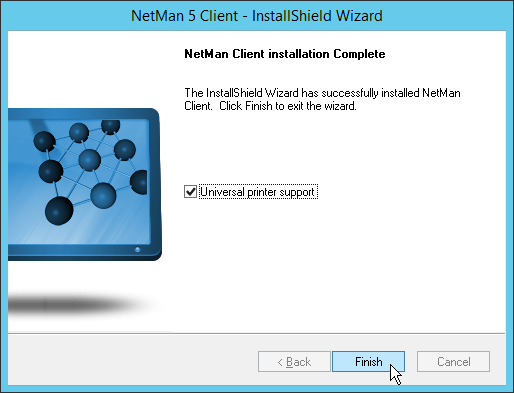
2. At the end of installation on a Remote Desktop Session Host, you have the option of installing universal printer support. This installs a PDF printer that can be used to print within RD sessions. Tick the box next to Universal printer support to install the PDF printer:
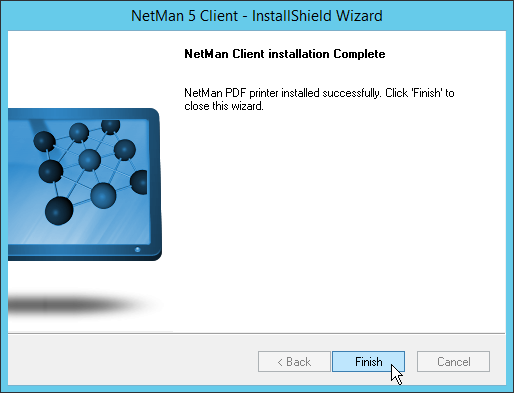
The printer driver is installed.
3. The NetMan Client Installation Complete dialog informs you when the installation of client components has concluded successfully. Click Finish, to close the Setup program:
At the end of installation, the NetMan Client runs automatically and loads your Windows Start menu and your Windows desktop shortcuts. For a complete description of all NetMan Desktop Manager elements in your environment on an administrative station, see "Initial Startup".
If you have a large number of (potential) client stations in your NetMan Desktop Manager system, manual installation on each client would be a long, tedious job. For details on distributing the NetMan Client through the network from one central position, see "Distribute the NetMan Client".