Once you have created a Client Drive filter, you can modify it as needed in the Editor for Client Drive Filter Files. For details on creating a Client Drive filter, see "Create a Client Drive Filter". If the Client Drive filter was not automatically opened in the editor after you created it, open it manually for editing. Open your Client Drive filter in the NetMan Center:
1. Select the filter: Click the Filter button.
2. Open the client drive filter view: Click on Client drive filter in the sidebar to open the client drive filter view.
3. Double-click the filter file: Double-click on the desired filter file to edit it.
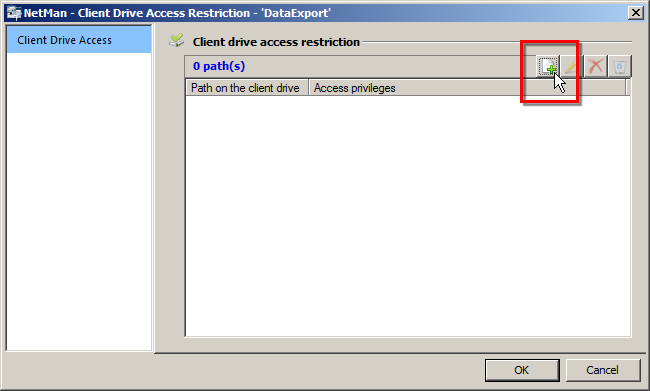
4. Create a filter definition: In the Editor for Client Drive Filter Files, click the New above the list to create a new filter definition:
5. Define path: In the Choose path And set access dialog, enter the path to which the filter refers in the Path field.
6. Set access: Define the extent of the user's access using the Permit 'read' access in the specified path and Permit 'write' access in the specified path options.
7. Save filter definition: Click OK. The definition is saved and the filter file is entered.
8. Save filter file: Add other definitions if desired and then save the filter file by clicking OK. The filter file can now be allocated. For details on allocating Client Drive filters, see "Allocate a Client Drive Filter".